
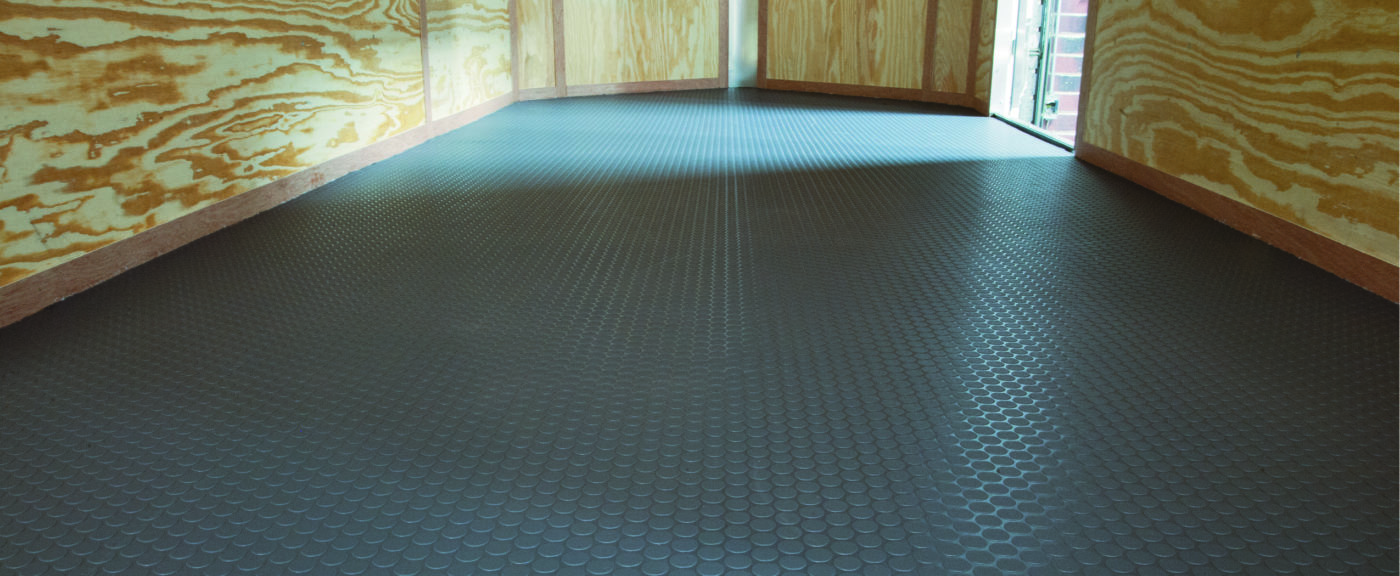
G‑Floor® Trailer Flooring is perfect for cargo trailers, toy haulers, concession trailers, luxury horse trailers, travel trailers, pop-up trailers, restroom trailers and more! Available as one solid piece polyvinyl floor with no seams, it’s easy to roll-out and install, super easy to clean, and offers maximum protection from the elements.
G‑Floor® Trailer Flooring is a homogeneous, 100% polyvinyl floor covering with a spun bound backing. It offers superior quality, extreme durability, easy installation and incredible versatility. Our spun bound backer grabs glue tight for ease of permanent installation. It is waterproof and slip, stain, mold, and mildew resistant. G‑Floor® offers a variety of appealing surface textures that can withstand high volumes of foot and vehicle.
Installing G‑Floor® Trailer Flooring is a manageable DIY project. The key to success is preparation. Learn how to install G‑Floor® in your trailer.
TOOLS:
-
- Trowel
- Tape Measure
- Straight Edge
- Utility Knife
- 100lb Roller
- G‑Floor® Trailer Flooring
- Adhesive
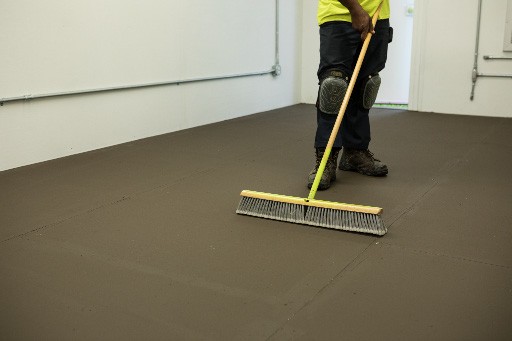
Make Subfloor Flat and Smooth
Check the subfloor to make sure it is in good condition. It needs to be flat and completely smooth. If the subfloor is wooden, any seams should be sanded smooth and should be level with one another. This will prevent the seam from being visible when the floor is in place. Once the floor is smooth and level, it should be cleaned thoroughly of all debris and allowed to dry completely. Meanwhile, the flooring should be acclimated to room temperature at least 24 hours before cutting.
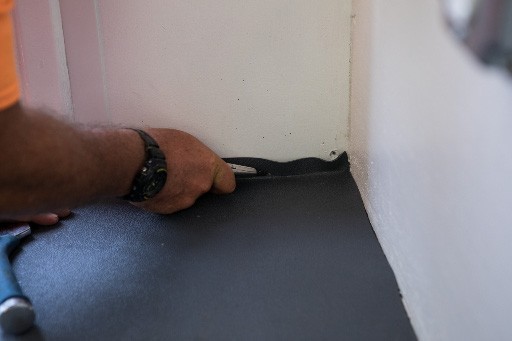
Cut G‑Floor® Trailer Flooring
Unroll the flooring into the trailer, making sure it is straight with the trailer walls. Mark the area where the excess will be cut out. Cut with a utility knife or heavy-duty shears. Carefully remove any excess material to fit all the angles of the trailer, so that it lays flat on the floor.
Apply Adhesive and Install the Flooring
Your new trailer flooring will require a full glue down application. Make sure to use an adhesive suitable for securing a scrim backed vinyl to your specific subfloor.
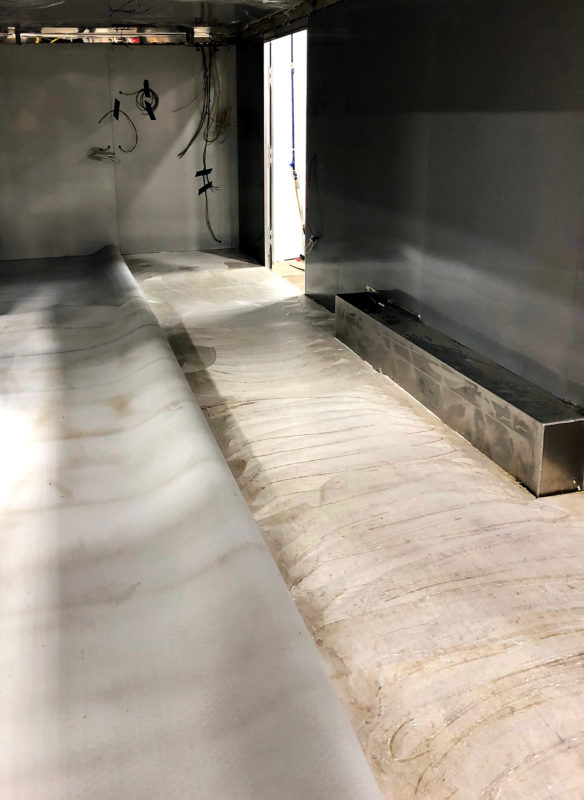
Step 1: Put the Floor in Position
Lay the floor in position. Then fold back half of the floor. Lengthwise is recommended.
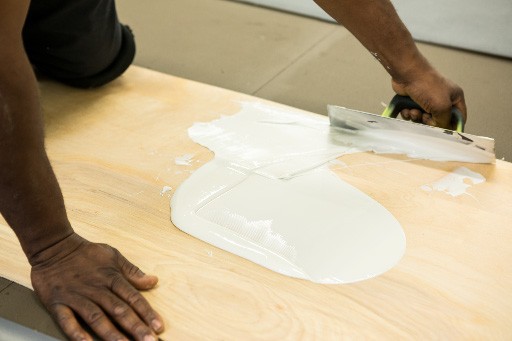
Step 2: Apply the Adhesive
Using a notched trowel, apply recommended adhesive to the subfloor. Always follow the manufacturer’s instructions when applying adhesive.

Step 3: Cure the Adhesive
Let the adhesive sit according to instructions. The open time will allow the adhesive to achieve its best hold.
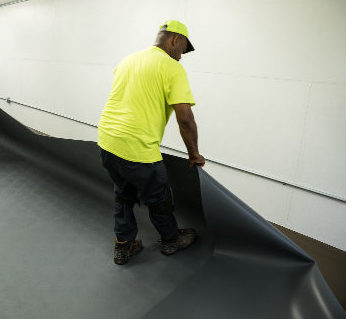
Step 4: Lay the Floor in Place
Carefully roll the flooring back into place (do not “flop” the flooring back over). Using a hundred-pound roller, roll the entire floor to work out air pockets and ensure the adhesive is evenly distributed.
Step 5: Affix the Remaining Floor
Repeat steps 1 through 4 for the other half of the floor. Clean any adhesive residue left on the floor.
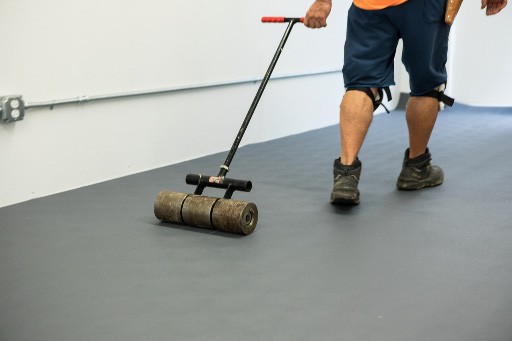
Step 6: Finish the Bonding
Using the floor roller, roll from the middle to the edges to fully secure the flooring to the trailer subfloor. Roll firmly over the entire floor.
Step 7: Allow the Adhesive to Dry
Keep foot traffic to a minimum for 24 hours after installation to ensure the best bond.
Cleaning Your New G‑Floor® Trailer Flooring
Cleaning and maintaining is simple: Keep it swept and use a damp mop with mild detergent and water.